Kneeling W Raises
Low-kneeling scapular-retraction drill: from a tall kneel on the carriage the elbows draw up and back into a W against strap tension, so the shoulder blades have to retract with no seat or backrest to lean on.
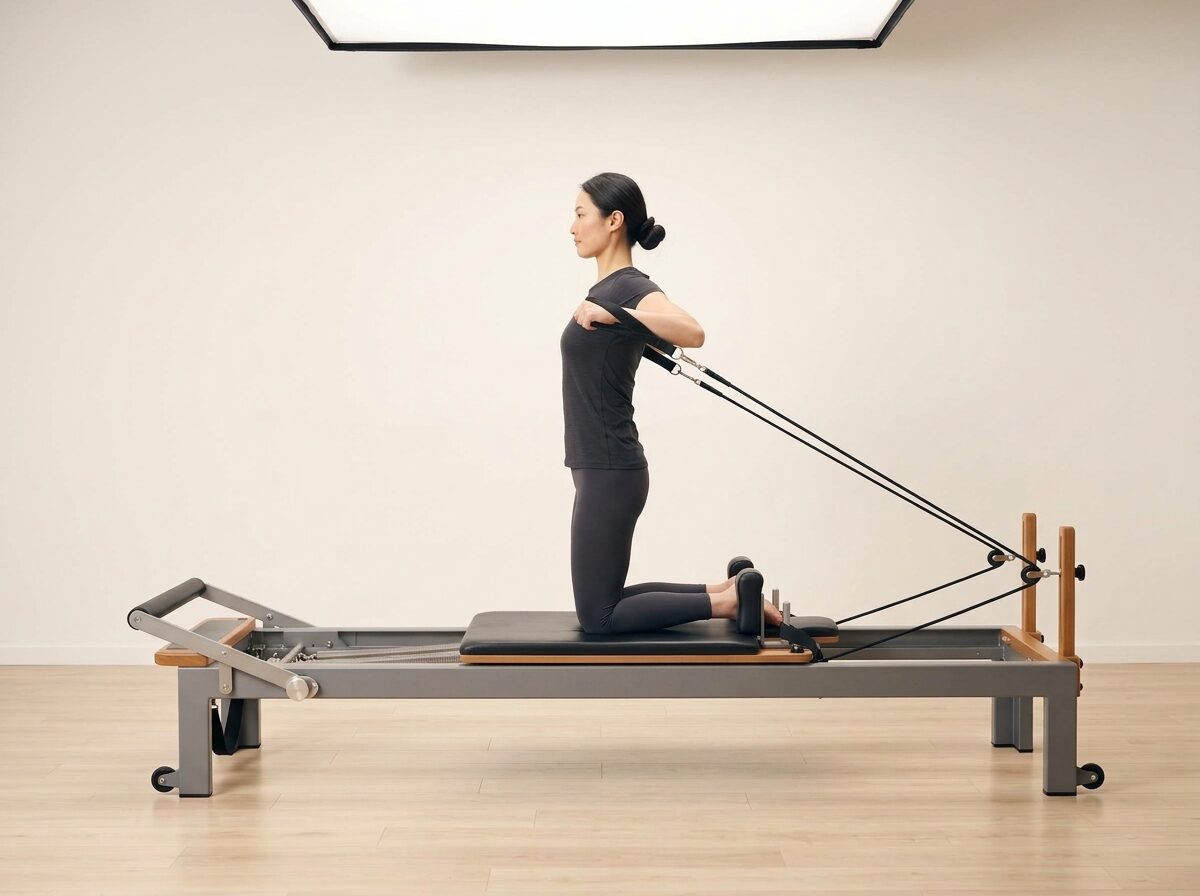
- Body
- Reformer
- Strap
- Movement
⚠️ Clinical Contraindications
- Shoulder Impingement: Drawing the elbows up and back can compress the shoulder; keep the elbows below shoulder height and stop on any pinch.
- Knee Issues: Kneeling loads the knees; pad under the knees and spread the weight evenly.
Apparatus Setup
Reformer
Target Muscles
Setup Instructions
Kneel upright on the carriage facing the footbar with the knees hip-width apart and the hips stacked over the knees, the footbar down and out of the way. Take a strap in each hand with the elbows bent to roughly 90 degrees and the upper arms just below shoulder height, the shoulder blades settled down the back and the ribs stacked over the pelvis. The carriage stays still — the springs are only the anchor for the arms, never the resistance.
Execution Instructions
- Inhale to grow tall through the crown and let the shoulder blades settle down the back.
- Exhale to draw the elbows up and back into a W, squeezing the shoulder blades together without letting the elbows rise above shoulder height, and pause for a beat at the end of the range.
- Inhale to release the blades and lower the arms with control.
- Only the arms and the shoulder blades travel — the trunk stays tall, the ribs stay down, and the hips do not sit back toward the heels.
Teaching Cues
"Squeeze the shoulder blades as the elbows draw back, keeping the hips stacked over the knees."
"Keep the elbows at roughly 90 degrees and no higher than shoulder height, with the ribs stacked over the hips."
"Exhale to draw the elbows into the W, inhale to release without letting the ribs lift."
"Stay tall over the knees with the ribs stacked over the pelvis — no sitting back toward the heels as the arms work."
Modifications & Progressions
Lighter W Connection (Regression)
Use a lighter spring and a smaller pull until the shoulder blades connect.
Two-Breath W Squeeze (Progression)
Hold the W position for two full breaths to build scapular endurance.
Elbows Below Shoulder Height (Injury Modification)
Keep the elbows below shoulder height and reduce the range.