Corkscrew
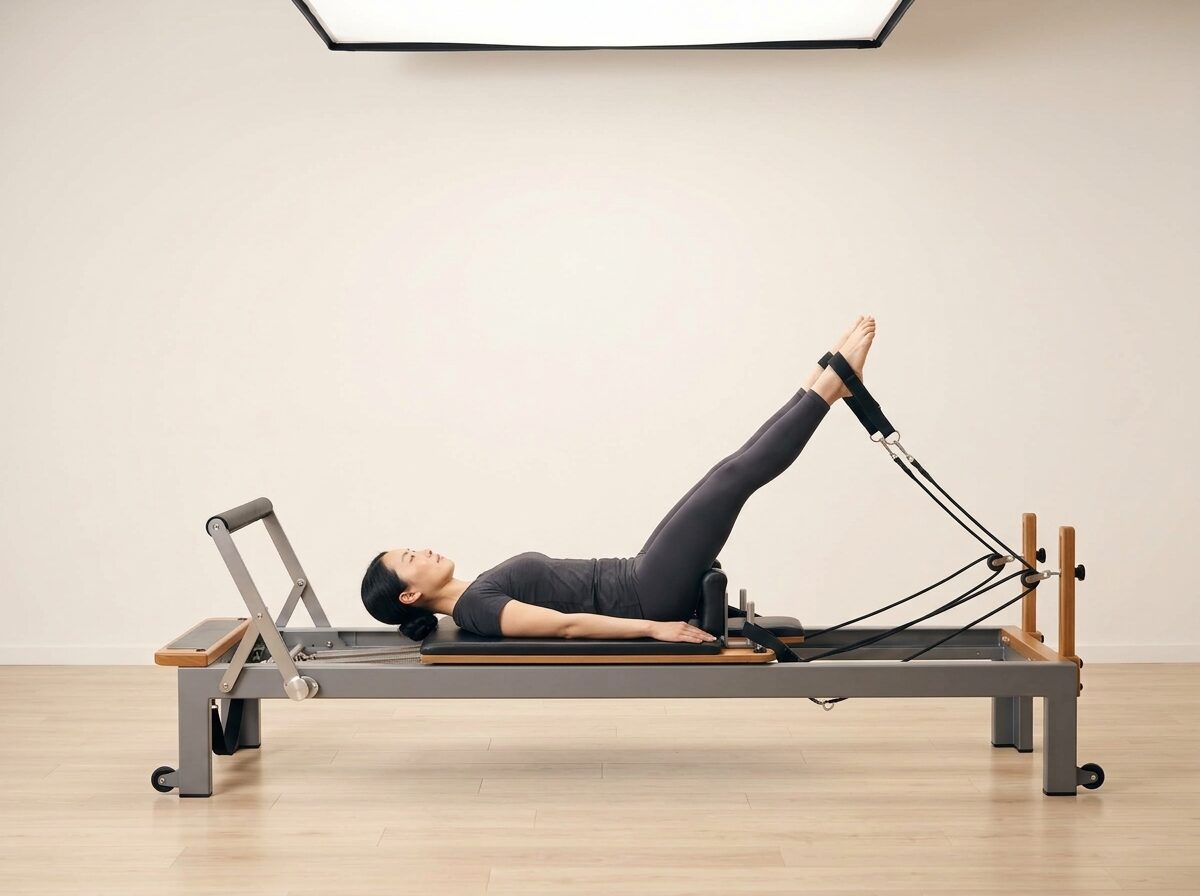
Classical feet-in-straps circling: the legs circle from the hip sockets in a small, controlled arc while the pelvis stays anchored — oblique control and hip mobility.
- Body
- Reformer
- Strap
- Movement
Teaching Precautions
Common precautions, not exhaustive. Screen every client and refer when in doubt.
- Low Back Pain: Keep the range small and the pelvis anchored; stop if the low back aches.
- Pregnancy: Supine work after the first trimester can compress the vena cava; elevate the head and shoulders or use a side-lying alternative.
- Neck & Cervical Strain: Inversion loads the cervical spine; keep the head supported and skip if there is any neck compromise.
Apparatus Setup
Reformer
Target Muscles
Setup Instructions
Lie supine on the carriage with the feet in the long straps, legs extended toward the ceiling and arms long by the sides, pelvis neutral.
Execution Instructions
- Exhale to circle the legs out to one side and down, drawing them together at the bottom; inhale to circle up the other side.
- Keep the pelvis anchored and the range small, then reverse direction.
Teaching Cues
"Circle only as wide as the pelvis stays quiet — no rocking."
"Reach the legs long from the hip sockets with the feet softly pointed."
"Inhale to circle out, exhale to draw the legs together."
Modifications & Progressions
Lowered Legs (Progression)
Lower the start position of the legs to lengthen the lever and increase core demand.
Still-Pelvis Smaller Circles (Regression)
Reduce the circle size until the pelvis remains still throughout.
Above Hip Circles (Injury Modification)
For low back pain, keep the circles small and above hip height with the pelvis pressed into the carriage, and stop if the back rocks.
Similar Exercises
Same category, or body position when the category is unique.